How To Apply Press-On Nails To Last Longer Than Acrylics: A Step by Step Tutorial
I live and die by press-on nails, they have come to be one of the life upgrades that I can never shut up about - they save time, save money, and give you flexibility and assurance that your nails will last an entire trip. Skipping the salon appointment for gel or $100+ acrylic sets and spend just a few dollars on a nail kit is a great way to cut back on spending. Press-on nails have come a long way – they’re stronger, sleeker, and actually last. The new generation looks like a professional set and really hold up with the right techniques.

The long and short of press-ons
I have perfected my nail routine over the many years I have been wearing them, and can make a set last a full two weeks - even if I'm spending that time swimming in the ocean every day. Here is my step-by-step guide
1. Choose the Right Press-Ons - and Always Use Glue
There are two main types of press-ons: ones with sticky backs sold as "no glue needed" (spoiler: that part is not true) and sets with plan backs intended for glue.
- Glue-on nails – These are basically mini acrylics without any adhesive backing. They require separate nail glue, which creates a stronger, longer-lasting bond.
- Adhesive-backed nails – These claim you don’t need glue, but don’t believe it. Even with the built-in sticky layer, they won’t last without extra adhesive.
For a long time I exclusively used the plain style, as they can last longer and often look more real. However, if you catch your nail on something, this style adheres more to your natural nail and has more of a tendency to rip off painfully. Lately, I’ve been using the adhesive-backed ones with glue. Applied properly, they do hold on almost as tightly as the full-glue versions, and they’re gentler on my natural nails when I eventually remove them or in a snag. If you’re worried about damage, they’re the better option.
2. Prep Like a Pro
The key to making press-ons actually last is a perfectly prepped nail surface. Skipping this step is why most people’s pop off after a few days. Here’s how to do it right:
- Remove all oils: Use 100% acetone nail polish remover (immensely better than regular polish remover) to thoroughly clean your nails. This strips away natural oils, which allows the glue to bond properly.
- Scuff the surface: Take a nail file and rough up the top of each nail. You want a slightly gritty texture—it gives the glue something to grip onto, creating a stronger hold.
- Dust it off: After filing, wipe your nails with acetone again to remove any dust or residue. This ensures you’re working with a clean, dry surface.
Pro Tip: If you prefer glue-only nails, roughing up the inside of each one with a nail file before applying will give the glue more texture to cling to - helping them last even longer.

3. Pick Your Sizes First
Before you start gluing, take a minute to size and lay out all your nails in order. Laying everything out keeps you from digging through the nails with sticky fingers or using the wrong size and helps the process feel more methodical.
- Match each press-on to your nail size and arrange them in order, from thumb to pinky.
- Peel off the adhesive backing from all the nails in advance (if you’re using sticky ones) so they’re ready to go.
- If you’re using glue-only nails, rough up the underside of each one with a nail file before you start gluing.
Doing this ahead of time prevents you from fumbling with sizes and glue mid-application—especially when working on your non-dominant hand.

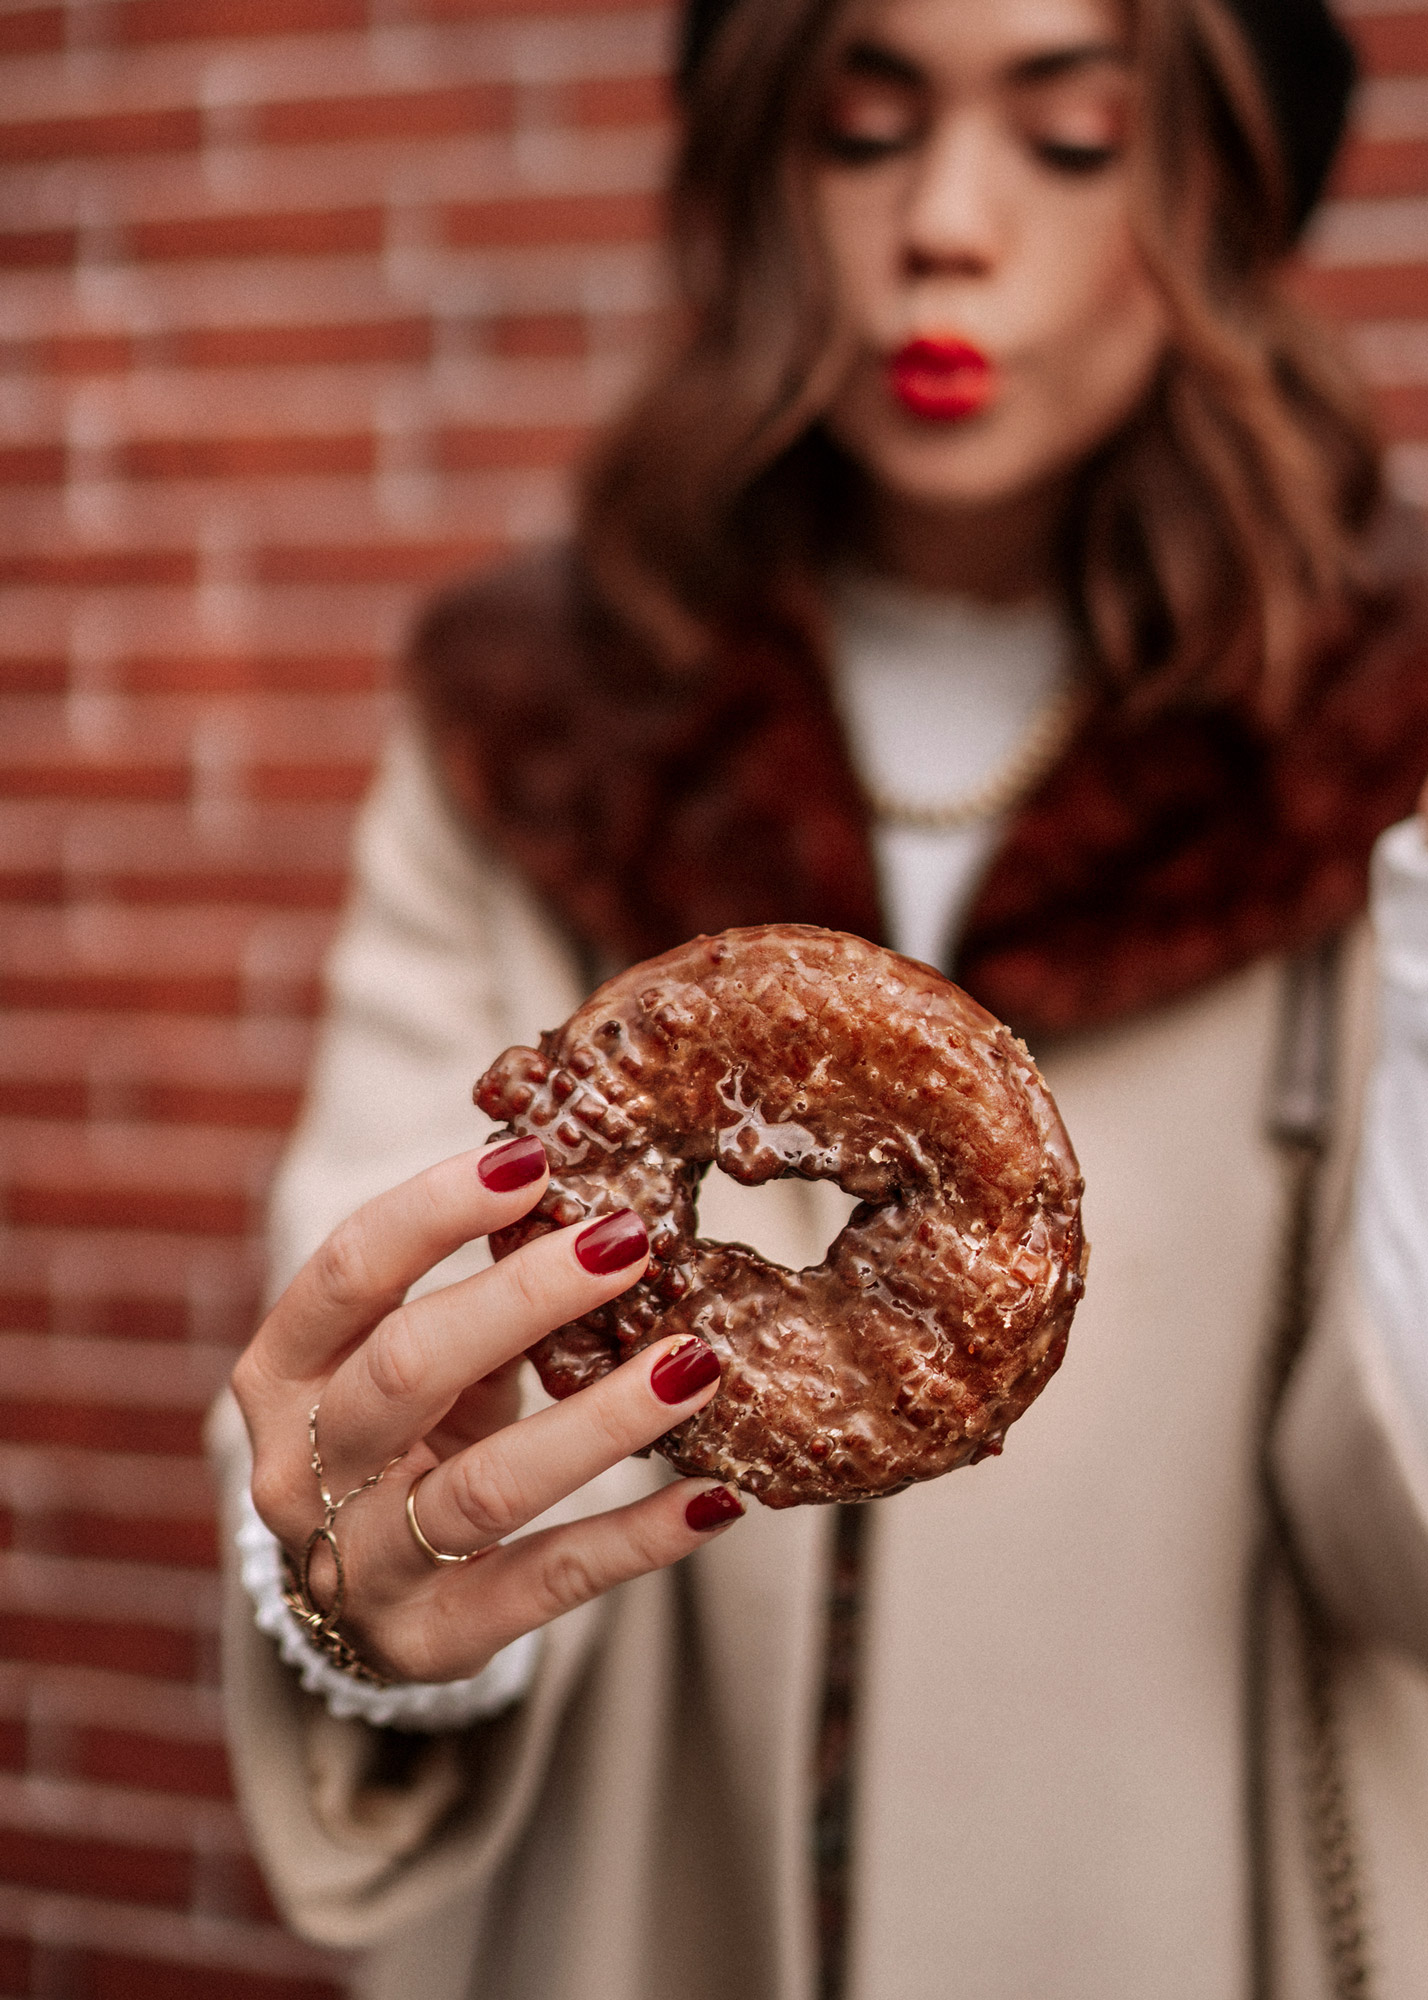
IMPRESS short nails - the perfect length if you're active
4. Glue Like You Mean It
When it’s time to apply, don’t skimp on the glue or the time you spend holding each nail down. This is where a lot of people go wrong, and where I notice the largest difference in longevity. This is my favorite nail glue. Here’s how to get it right:
- Add a generous drop of glue to your natural nail. Don’t be afraid of a little overflow - it’s better than not having enough.
- Press the nail firmly into place, sliding it slightly under the cuticle for a seamless look. This creates a more natural, salon-like finish.
- Hold it down for at least 30 seconds. This is the most important step. The longer you press, the stronger the bond. I aim for a full minute per nail if I’m being diligent. To hold still, I usually do this while watching a show or listening to a podcast.
Pro Tip: When applying, push the nail slightly under your cuticle as you press it down. This not only makes them look more realistic but also helps them stay put longer.
5. Bring Backup When You're On The Go
One of the best parts about press-ons is how easy they are to fix on the go. When I go out, I through my mini repair kit in my bag and know that if I have an issue with one nail lifting or popping off, I can re-glue it right there and continue on. The ability to do this while traveling is a massive advantage over salon nails, because you can always fix any problems yourself.
- What to pack: Extra nails, glue, and a mini file - I just use the original box that the nails come in and add a tiny glue bottle if it doesn't come with one.
- If one nail lifts or pops off, just re-glue it or replace it with a spare.
- I like to add a tiny dot of glue to any corners that start to come up to keep everything in line.
- On long trips, this trick keeps my nails looking flawless for up to three weeks.
6. Don’t Toss Old Glue Too Soon
If you’re struggling to squeeze out the last bit of glue from the tube, snip off the tip with scissors. Half the time, there’s still plenty of glue left—it’s just clogged at the top. This trick makes the glue flow like new again, saving you from constantly opening fresh tubes.

When applied properly, press-ons hold up surprisingly well, even through travel, typing, and swimming. I’ve worn them for weeks at a time—through multiple flights, hours in the ocean, and nonstop photo shoots—without a single one falling off.
With a bit of prep and patience, press-on nails can last just as long as acrylics—for a fraction of the price. I used to spend $100+ on a full set at a salon in LA, but now I grab an $8–$10 pack of press-ons, apply them right, and get the same flawless results.
And the best part? When one inevitably pops off, I don’t need to book a nail appointment. I just reach into my bag, slap on a new one, and keep moving. Every time I skip the salon, I swear I can hear the sweet sound of saving $150.
The Best Press-On Nail Brands
- Static Nails – Known for their reusable, salon-quality nails that can be worn multiple times. Their modern designs and strong adhesive make them a top choice.
- Olive & June – Stylish, natural-looking press-ons with a flexible fit and chic designs. Great for short and medium lengths.
- Glamnetic – Durable, trendy nails with strong hold and a wide range of bold styles. Ideal for statement looks.
- Kiss & Impress – Affordable and widely available at drugstores. Kiss offers both glue-on and adhesive options, while Impress features pre-glued nails for quick application.
- Chillhouse – High-end, artsy nails with trendy patterns and premium quality. Perfect for events or when you want a standout manicure.
Short Press-On Nails:
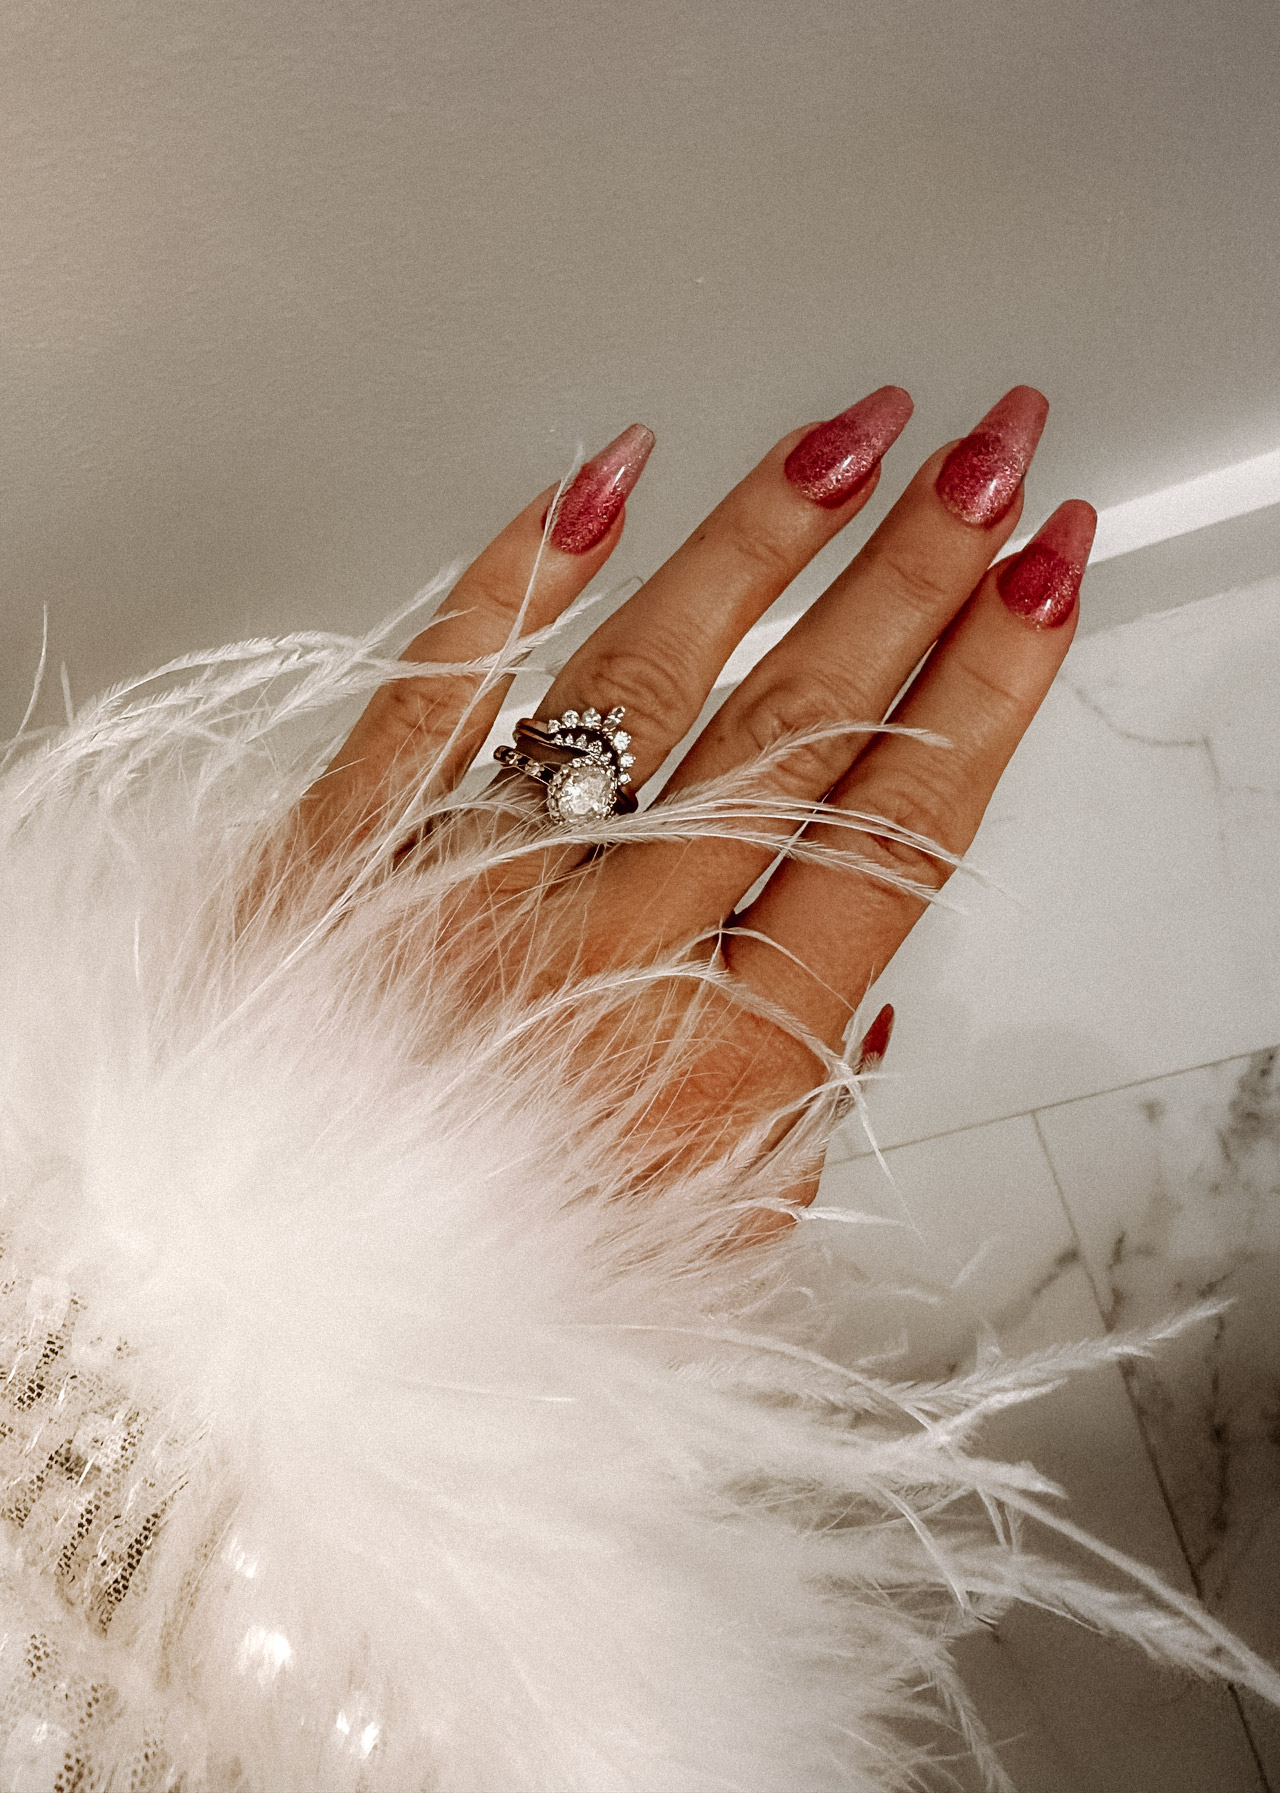
Long Press-On Nails: